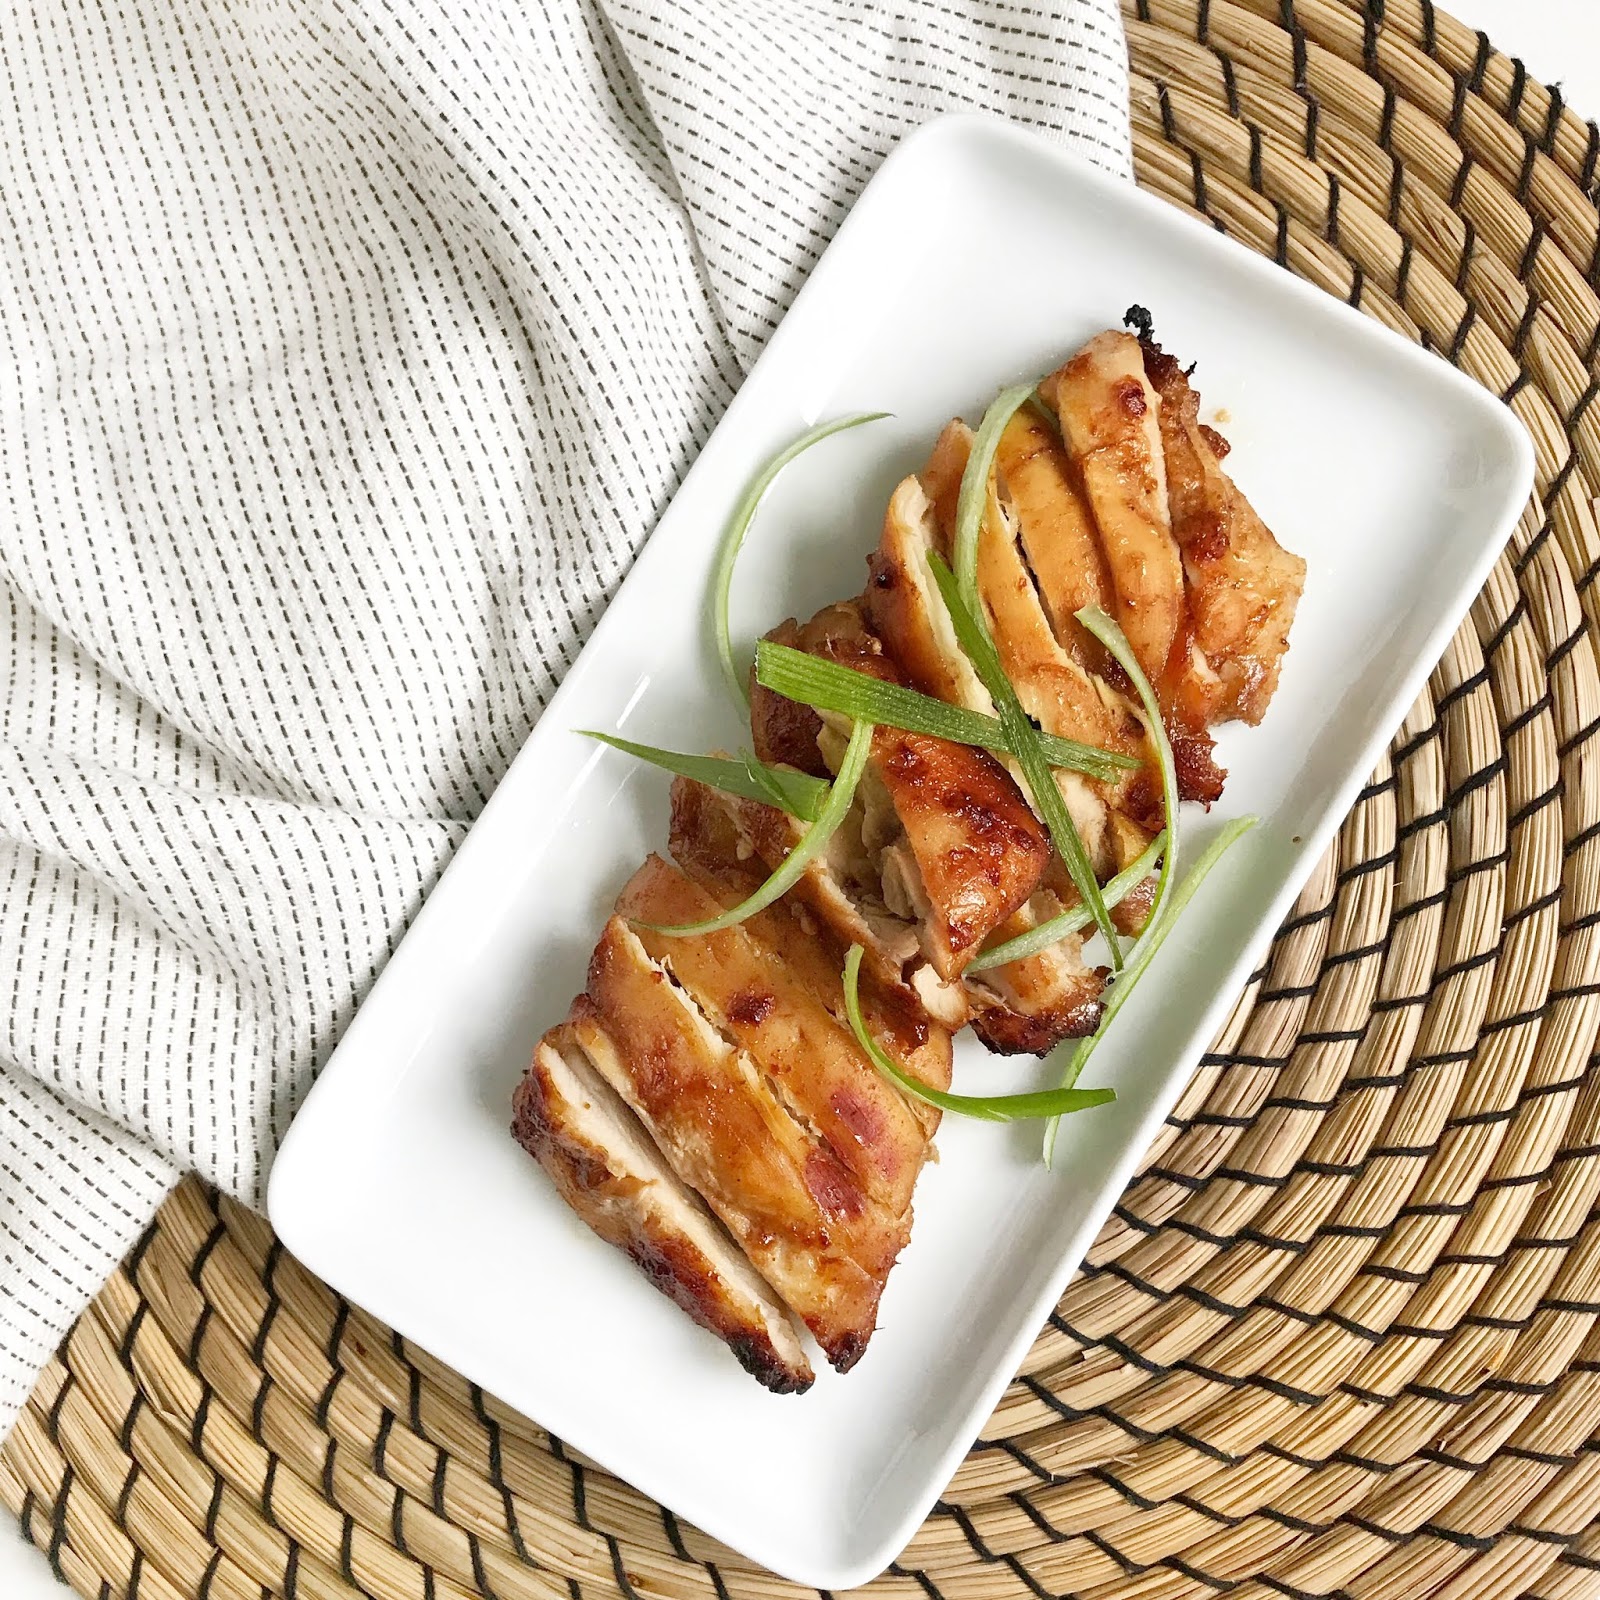
Chinese Char Siu Chicken | Halogen Oven Recipe
I'm sure most of you know that char siu refers to the glistening ruby-red strips of roast pork covered in a sweet and sticky glaze, but the key ingredients to making it char siu in style is hoi sin sauce and 5 spice powder. My dad always made the best char siu, and along with freshly grated ginger, these were the key ingredients to making it taste so good.
Turns out whether you're making char siu pork or char siu chicken, this marinade works well with all sorts and I'd recommend it for prawns and white fish too. I've not added in fresh ginger like my dad would, and used ground ginger instead for ease, and I've also left out the red colouring because it's not all that necessary for a regular home cooked meal. I will share my dad's traditional char siu recipe once day, I promise!
The marinaded chicken takes no time to make at all and you can cook it as soon as the condiments and chicken have been mixed together. If you have a few hours ahead of time or overnight, that's even better as it will give time for all the flavours to infuse.
All your ingredients to get your char siu party started.
Shake all the condiments and spices over the chicken, rub it in really well with your hands and make sure to massage the chicken to really get the flavours going in. I tested out this recipe in my new halogen oven*, and it cooked faster than it would have in a conventional oven and giving the char siu a crispy and caramelised exterior.
The halogen oven comes with an extender ring for cooking larger amounts of food, and include all sorts of racks in varying heights, so you can roast meat and steam vegetables at the same time. With a timer and a temperature dial, it's pretty straightforward to use without it being too gadgety with lots of functions. It comes in 2 sizes and I opted for the larger one since I can just cook more food in one go.
I really like the way it cooked the chicken, and the faster cooking time was definitely a bonus. However, I couldn't create a sauce like I usually do in the oven so next time, I'll try making this again but without the lower rack and just have the chicken sit at the bottom of the glass bowl surrounded by water. The oven comes with a self cleaning mode too which sounds great with no need to scrub down stubborn stains. It does takes up quite a lot of counter space though and currently I have no where to store it which is a little troublesome.
You can absolutely make this recipe in the oven, change the cooking time to 20-25 minutes and increase to 220 degrees. If you have more chicken than the stated amount in the recipe, you may need to change the cooking time in the oven to around 30 minutes.
Ingredients:
6 pieces skinless and boneless chicken thigh (or 650g chicken)
5 tsp soya sauce
2 tsp oyster sauce
2 tsp hoi sin sauce
1 tsp light brown sugar
1 tsp ginger powder
1 tsp garlic powder
1/4 tsp 5 spice powder
1/2 tsp white pepper
1 cup water
Directions:
1. Measure out all of the condiments and spices and add directly to the chicken thighs. Or you can add it all into a bowl, mix well and then pour over the chicken.
2. Rub the chicken all over and very well until all the pieces are evenly coated. You can cook the chicken straight away or leave it to marinade for a few hours or overnight
3. Add a cup of water to the bottom of halogen oven, place the low rack on top and lay the chicken on the rack. The water will help steam cook the chicken and keep it moist
4. Turn on the halogen oven to 200 degrees and timer dial to 20 minutes. There is no need to preheat
5. Once full cooked through, serve immediately with rice/noodles, or in a baguette with salad
*The oven was sent to me to review. All opinions are my own and unbiased


My halogen oven is a Parini. Looks exactly like yours!!! Love it!!!
ReplyDeleteThis comment has been removed by the author.
ReplyDeleteLooking forward to reading more. Great blog post. Really thank you! Want more.
ReplyDeleteget vacuum oven
Enjoyed every bit of your blog post. Really looking forward to read more. Fantastic. https://pressureovenuses.mystrikingly.com/blog/effective-uses-of-pressure-oven-review/i/view_as_owner
ReplyDeleteVery neat article post. Really looking forward to read more. Will read on...
ReplyDeleteget reflow oven